

How To Clean Up Mac Book Start Up Disk
When the message "Your startup disk is almost full" appears on a Mac, about users become lost. Our support team at Nektony got many emails from the users asking how to fix the total startup disk error. Then based on vii+ years feel in safely cleaning Mac from junk files, nosotros've decided to write a comprehensive guide most Mac startup deejay.
A startup deejay on Mac is a difficult drive's partition where macOS is installed. By default, the Startup Disk is the deejay named "Macintosh Hard disk drive" and the user's applications, files, and whatsoever data are also stored on this disk. You can modify that proper noun merely it would still exist the startup disk of your Mac.
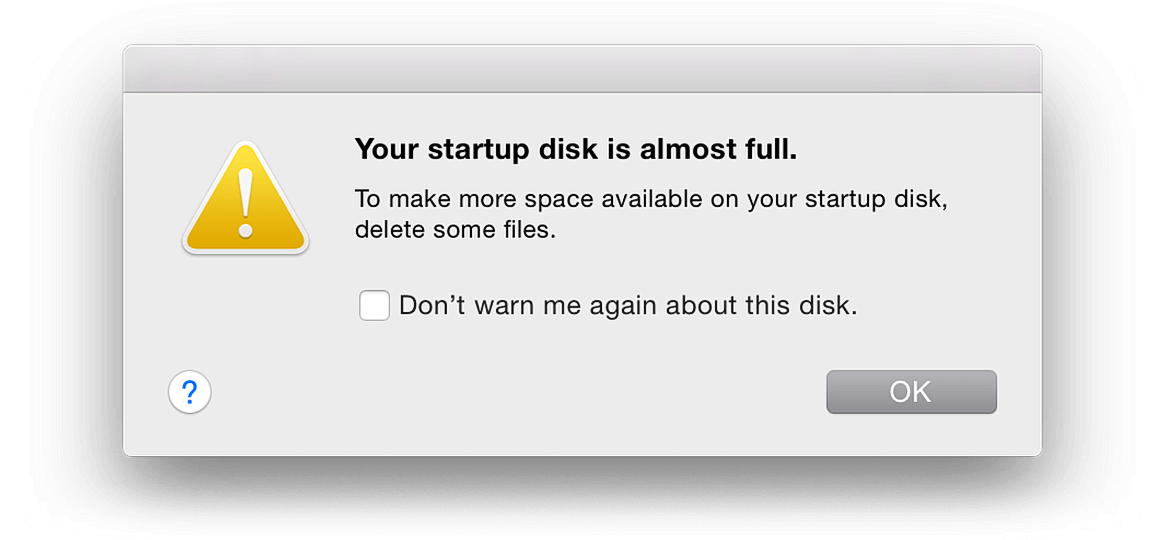
The alert message indicating that your startup disk is almost full appears when in that location is no longer plenty gratuitous space on your disk. This is frequently due to having likewise many files occupying your Mac'due south hard drive, bringing complimentary space to a dangerously low level. To resolve this consequence, you demand to complimentary up some disk infinite.
Here is the bulletin the users get when the startup disk is full:
Since macOS Big Sur, the alert message about running depression on disk space looks similar that: 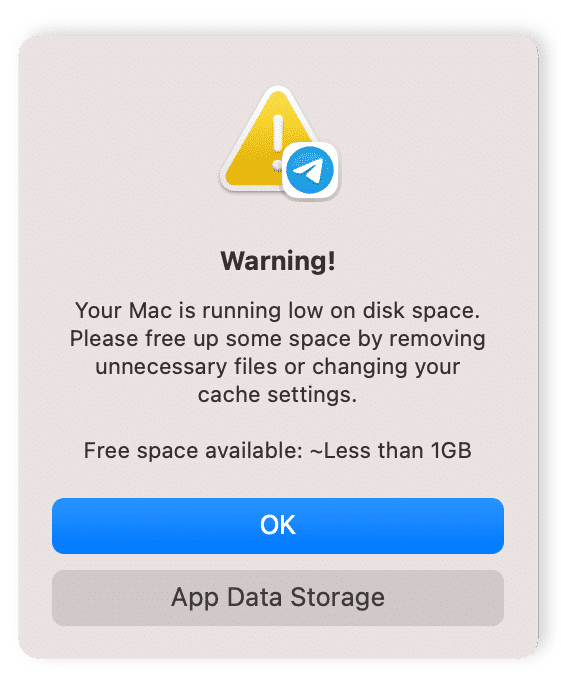
How does "Startup Disk Full" affect your Mac?
Lack of free space on the startup disk leads to both unstable and slow functioning of the macOS system. It can likewise forbid applications from being able to launch or work properly, including suddenly crashing or only ceasing to piece of work.
What to do if the startup deejay is full on Mac
In general, when your Mac startup disk is full, yous need to clean upward your Mac and recover some space. For the macOS arrangement to work properly, you will need to complimentary up from 10 to 30 Gigabytes past removing unneeded files.
You tin clear caches and other temporary files, uninstall unused apps, remove duplicate files and delete other junk on your Mac. This would gratis up much space on your disk. You can either remove junk files manually or use MacCleaner Pro to perform this chore quickly and easily.
Sentinel the video to see how like shooting fish in a barrel it is to set up full startup disk error with MacCleaner Pro.
Video Guide
Besides, yous should clarify your deejay space usage and remove all unneeded digital stuff. For example, you lot tin can upload some large files to the deject or offload them to a backup disk, nevertheless, this approach requires you to take additional storage.
How to check startup disk on your Mac
Follow the side by side steps to see what kind of files eat your startup disk infinite.
- Click menu at the .
- Click the tab.
- Review the storage usage to see what files are eating upwards space.

There are seven general categories of data stored on your Startup Deejay. The larger the bar, the larger the space taken up by those types of files: Photos, Apps, Movies, Audios, Backups, Documents, and Other.
How to manage disk space on Mac
On the storage usage panel, y'all can see the Manage button. If yous click it, the system will evidence you a window with recommendations on what you can exercise to optimize your storage:
- Store your files in iCloud.
- Enable the Optimize Storage option which ways that the system will automatically remove movies and TV shows that y'all accept already watched from your Mac.
- Turn on the option to empty Trash automatically.
- Reduce clutter which means that you will accept to review your big files and remove unneeded ones.
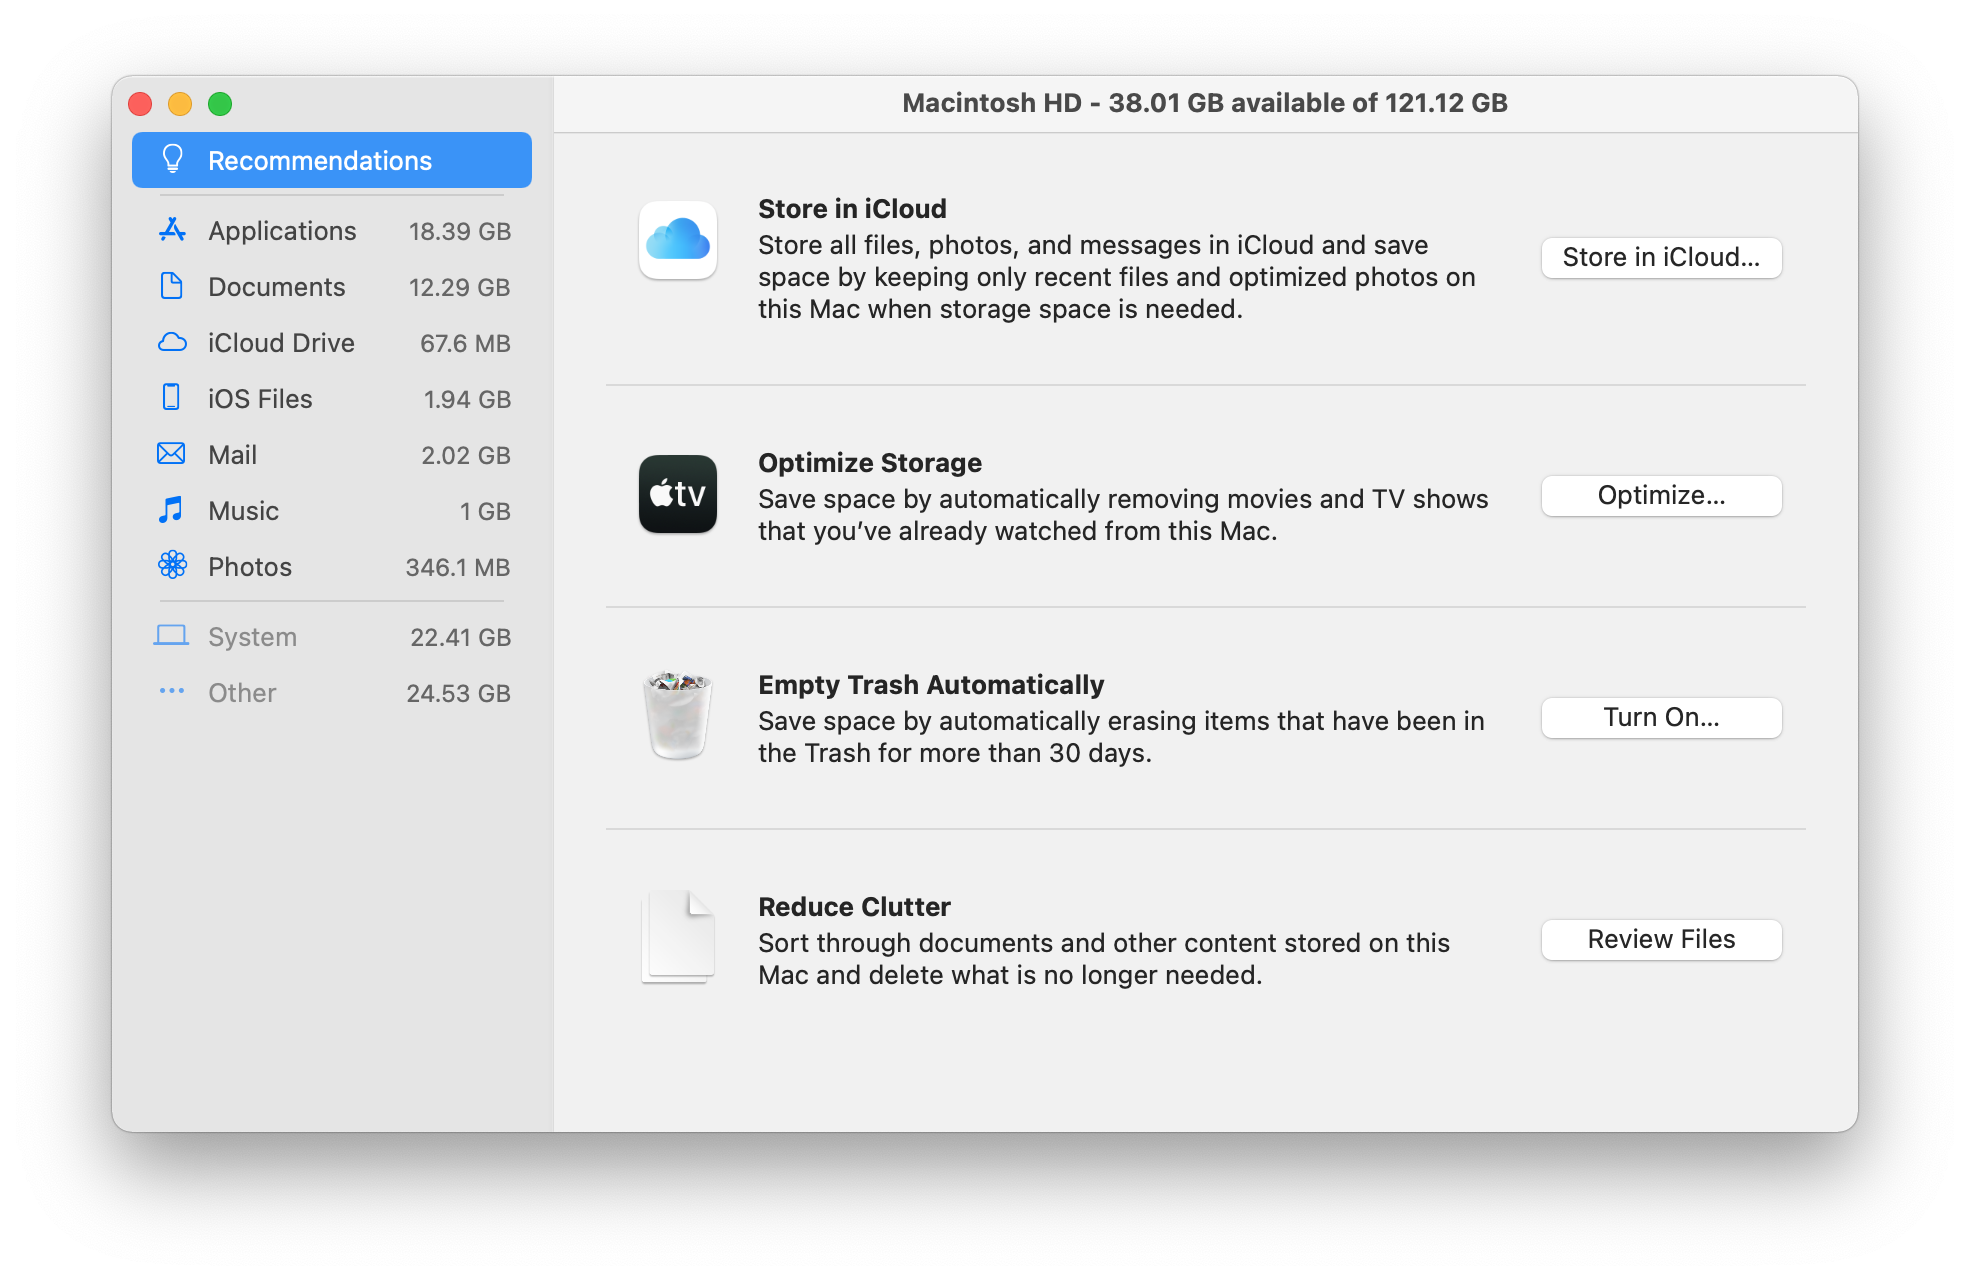
Also, in this window, you tin see what types of files and items accept up large infinite on your Mac: applications, iOS backups, music, photos, Post, or documents. Usually, movies, pictures, or backups have upwards the well-nigh space. But it often happens that the biggest space eaters are the "Other" files, including caches, logs, cookies, athenaeum, disk images, plugins, extensions and so on.
Y'all can remove unneeded files manually or use special software tools for quick and easy disk cleanup.
How to Clean upwards Mac Startup Deejay
i. Clear Cache
A cache file is a temporary data file created past apps, browsers, and many other programs to aid your Mac run faster. Note that when y'all remove enshroud files, they will be recreated the adjacent time you run the application. Withal, it's a good idea to clear the cache from time to time.
Apps y'all may no longer be using, as well as their leftovers, yet remain in the Cache folder and occupy tens of gigabytes of your deejay memory.
Enshroud files are stored in the Library folders, which yous can find in the following locations:
- /Library/Caches
- ~/Library/Caches
In /Library/Caches you will find temporary files created by the organisation. Usually, these files don't occupy too much space. Nonetheless, in the ~/Library/Caches folder, you will run into a huge number of junk files, which are created when you lot run applications. As a issue, this folder may increase substantially in size over time.
Past default, the Library folder is hidden on macOS, equally Apple keeps their system files and protects the files from accidental removal.
Here is how to remove caches on Mac:
- Open Finder.
- Go to the Menu Bar and click .
- Type ~/Library/Caches in the dialog box and click .
- Y'all will see the Caches folder where all applications store their cache files. Keep the Caches folder but delete the subfolders with applications' cache files.
Of import! Enshroud files with an "apple tree" in the proper noun cannot be deleted. Deleting such files may crusade a arrangement crash.

2. Remove Logs
While the Library folder is open up, you tin also observe another type of temporary file – log files. They are stored in the Logs folder. Please make certain that before you remove organisation logs, apps, and mobile devices, you no longer need them.

3. Remove Language Resources
Language Resources is the data stored past apps for different languages. Apart from English, lots of apps include languages such as German, Chinese, French, Portuguese, Italian, Korean, Russian, Hindi, and others.
For instance, Spotify has 54 languages. If you don't need all of these translations, you tin go rid of unneeded ones from within the Spotify Contents folder.
Here is how to find and remove unneeded language files of apps:
- Open up the Applications binder → select an app (in our instance it'due south Slack) → correct-click on the app and select Testify Bundle Contents.
- In the window that appears, select Resource and delete useless language files. Generally these files have the first two letters of a item language and an .lproj extension.

Using this method, yous tin can remove all unused languages in your applications. Be careful to only delete sure language files, since deleting important application files can affect the app'south performance or fifty-fifty pb to a crash.
Annotation! English is the base linguistic communication, so you lot should never delete it.
iv. Delete Downloads
How many times have y'all downloaded files from web browsers, messengers, torrents, and mail? When yous download files from the Net, by default they are saved in the Downloads folder, which can easily be plant at this location:
/Macintosh Hard disk drive/Users/Electric current User/Downloads

According to statistics, the average user accumulates 0.five GB per week in the Downloads folder.
All of the files in the Downloads folder unremarkably remain unorganized and may take upwardly several Gigabytes of free space. While y'all may have needed to think files very rarely, for case, installation files (disk images), more than half the files in Downloads are not needed and should exist deleted.
Sorting the list of files by size, kind, or date volition help you lot to rapidly observe out which unneeded files you take and remove them.

v. Delete Post Downloads
If you utilize the standard macOS Mail awarding, the system saves them to a separate folder on your hard drive. After several months of using the mail client, the folder's size can grow up to several GB.
The easiest style to find this folder is to search via Spotlight. Just type "Post Downloads" in the search field.

If this method didn't piece of work, then open up the Finder → press Shift+Cmd+Yard primal shortcut and in a search field enter:
~/Library/Containers/com.apple.mail/Data/Library/Mail

Preview the files and salve those that you demand, or delete all the files at once.
half-dozen. Cheque Your Trash
Information technology may audio uncomplicated, but we oft delete files and forget to empty the Trash. The files in the Trash still occupy your disk space, so information technology is recommended that you lot empty the Trash folder at to the lowest degree once a week.
To delete files from the Trash folder permanently, correct click on the in the dock panel and select . Another way to complete this task is to open the Trash and click the button in the top correct corner.

Easily remove all junk files
All previous steps can exist easily done by MacCleaner Pro. MacCleaner Pro will automatically detect all junk files and let you to remove them in just a few clicks. The software tool volition observe all junk files in just a few seconds: Downloads, Trash, Cache, Logs, and Language Resource.
- Download and launch MacCleaner Pro.
- Click to clean up on junk files.

- Take a expect at the junk files and select unneeded types.
- Then click on Remove and confirm removal.

7. Delete One-time iPhone Backups
If you regularly back up your iPhone to your Mac, check whether you don't shop sometime unneeded backup files on your disk. Backup files consume a significant amount of disk space, every bit they include movies, music, and other big files.
Here is how to find and remove iPhone backups from your Mac:
- Click on the Apple icon in the Carte du jour Bar → select Most This Mac.
- Switch to the Storage tab and click on Manage.
- Select iOS Files from the sidebar.
- Here you will discover the list of all backup files you lot accept made.
- To remove unneeded fill-in files, right-click on them and click on Delete.

Another style to notice and remove iOS backups is to become to the post-obit location in Finder:
~/Library/Application Support/MobileSync/Backup

8. Uninstall Unused Apps
Check your Applications binder. The number of all the installed applications may sometimes exceed 100; in fact, some may not exist used regularly or even at all. These apps take up a lot of space on your Mac's difficult drive. And so information technology'south time to uninstall such unused programs.
Merely delight note, moving an app to the Trash just by dragging and dropping it is not enough. You lot need to remove the app's enshroud and other service files, which are stored in the Library folder. We recommend that you read the instructions on how to uninstall apps completely or use a special tool from MacCleaner Pro – App Cleaner & Uninstaller. It will aid you to remove apps both correctly and completely.
Instead of manually searching for apps' service files and wasting your time, App Cleaner & Uninstaller will automatically find all the service files and even the leftovers of previously-removed apps.

9. Remove Leftovers
Leftovers are the broken service files left after deleting the apps. Such broken service files are unnecessary and they only take upwards your deejay retentiveness, so you should find and remove them.
The apps' leftovers are usually stored in the Library folder; however, they sometimes tin be scattered in different locations all over your drive, littering your Mac. Searching for them manually seems to be an impractical chore. Fortunately, with the assistance of App Cleaner & Uninstaller, y'all can detect and remove them with ease. The application finds and shows these files in the Remaining Files department.

x. Motion Large and Infrequently Used Files to External Drive
If y'all need to free up gigabytes of data, the best fashion to exercise it as quickly as possible is to check out your Movies folder. Video content is the biggest infinite-eater, too as audio and photo files in the Music and Pictures folders.
Besides check your disk for other files with large sizes. For this, get to File in the and select .

In the elevation right corner click the button and, in the parameter fields, select and set the needed file size, for example, 1GB or 500MB. Preview the largest files and remove or move unused ones.

Even if y'all have removed the largest files, like videos or music, you may still have lots of other huge files y'all don't suspect. Nosotros recommend that you clarify your disk space usage deeper and find out what's taking up the most space on your disk. For this, you tin utilize some other tool from MacCleaner Pro – Deejay Infinite Analyzer.
Disk Space Analyzer shows yous the deejay space usage in a sunburst diagram and allows you to easily manage the biggest files and folders. The app is capable of scanning custom folders, identifying the largest files, and collecting files from various folders into unified "drop lists" for transfer to external hard drives.

11.Utilise Cloud-Based Data Storage Services
Keep your big files on deject-based storage. You tin use iCloud, Dropbox, Google Drive or whatever other online storage. Commonly all cloud storage services provide some space for free.
For example, Dropbox provides ii gratuitous gigabytes of free space. This means that you lot can move big files and folders from your hard drive to deject storage. Recommendation: use the Selective synchronization option, which allows yous to delete content sent to the cloud from the hard drive. To enable this pick in Dropbox, go to the Preferences → Sync section and specify the desired folders to sync.

12. Delete Unnecessary Desktop Pictures and ScreenSavers
About Mac users like good screensavers and do not limit themselves to the default collection. If you are a screensaver fan and accept a collection of them, don't forget that they may take up sizable memory space on your deejay. It is recommended that you remove unneeded screensavers. For this purpose, you lot can again employ App Cleaner & Uninstaller Pro, which finds all the screen savers and shows them in the Extensions section.

To find the desktop wallpapers, go to the following directory:
/Macintosh Hard disk drive/Library/Desktop Pictures

Information technology contains 41 images of i.14 Gb. Yous are free to delete all redundant pictures.
thirteen. Observe and Remove Duplicate Files
You may have created copies of documents or downloaded some files twice, and later on forgotten about information technology. Indistinguishable files take upward useless disk space on your Mac. Searching for duplicates manually seems to exist a long and difficult procedure. The only matter you tin can practice very speedily is to find the duplicate music files in the Music Library.
To find duplicate music and video files on Mac, follow these steps:
- Open the Music application.
- Go to its menu and click on .
- Select .
The Music app will show you a listing of duplicate songs. Examine the list and remove the duplicates.

Unfortunately, for all other types of duplicate files, you will have to wait through each folder individually. This could take hours. But don't panic; there is a solution. We will at present talk over another way to find duplicates, and we are sure you will find it useful.
For other types of duplicate files, use the appropriate tool from MacCleaner Pro- Duplicate File Finder, which volition aid you to find and remove duplicate files in less than 5 minutes.
Duplicate File Finder allows you to scan whatever folders and drives and notice all duplicate files, including videos, music, pictures, documents, archives, and other duplicate files. The application finds fifty-fifty similar folders and can merge them, making information technology easy to organize your files and folders.

14. Clear Ram Retentiveness on Your Mac
And, finally, information technology's time to think about your RAM memory as well. This volition not only create more space on your Mac, only will also help speed it upward. This is especially important when your startup disk is nearly full and your Mac'south speed is starting to lag. Apply Mac Cleaner Pro when it comes to speeding upward your Mac.
- Go to the Performance section or click on Speed up Mac in the sidebar.

- Select Free up RAM and click on Review & Speed Up button.

If your Mac is still tedious, yous tin use additional speedup options in MacCleaner Pro to make your Mac run faster. Also, launch the special tool, Memory Cleaner, that works in the background and automatically clears inactive RAM when retention space is filled.

15. Restart Your Mac
Once you've cleaned up your hard drive, you should restart your Mac. A elementary rebooting of the arrangement tin assist to costless up the disk infinite cluttered past temporary items and cache folders. Information technology volition also clear the virtual memory and slumber prototype files.

Podcast: How to ready the full startup deejay error
Conclusion
Well, that seems to be all. Using these tips, you lot can delete up to 20 GB of unneeded information from the computer. Nosotros hope these tips aid you to complimentary upwardly deejay space on your Mac and set up the "Startup Disk is Full" error message. Merely note that you can make clean upwards your Mac manually, just this may take too much time. As well, you can utilise professional tools, which relieve time and perform a quick, efficient cleanup of your hard drive.

Source: https://nektony.com/mac-startup-disk-full
Posted by: millerworach1958.blogspot.com
0 Response to "How To Clean Up Mac Book Start Up Disk"
Post a Comment